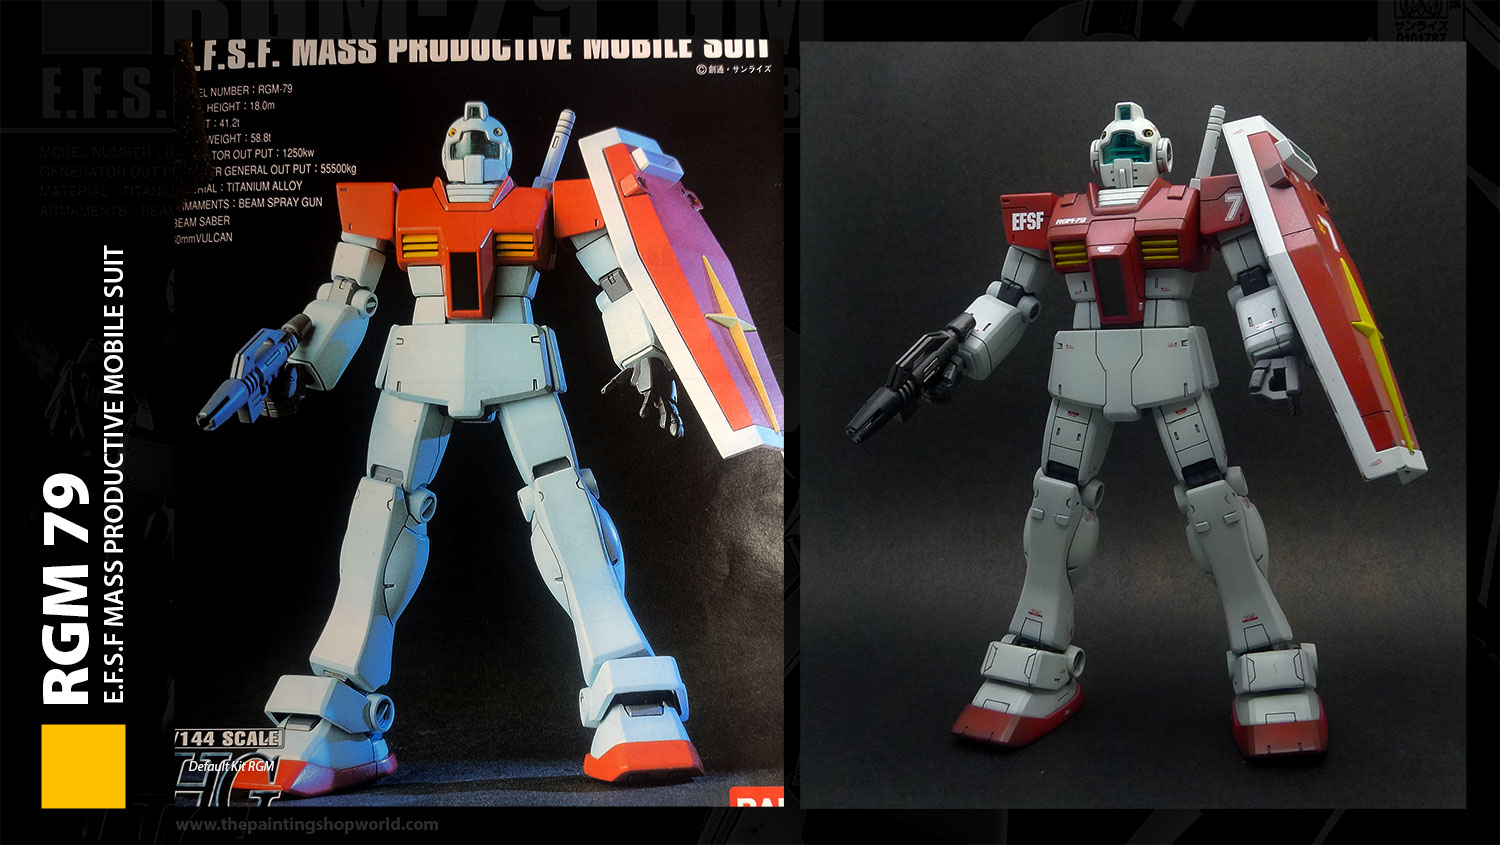
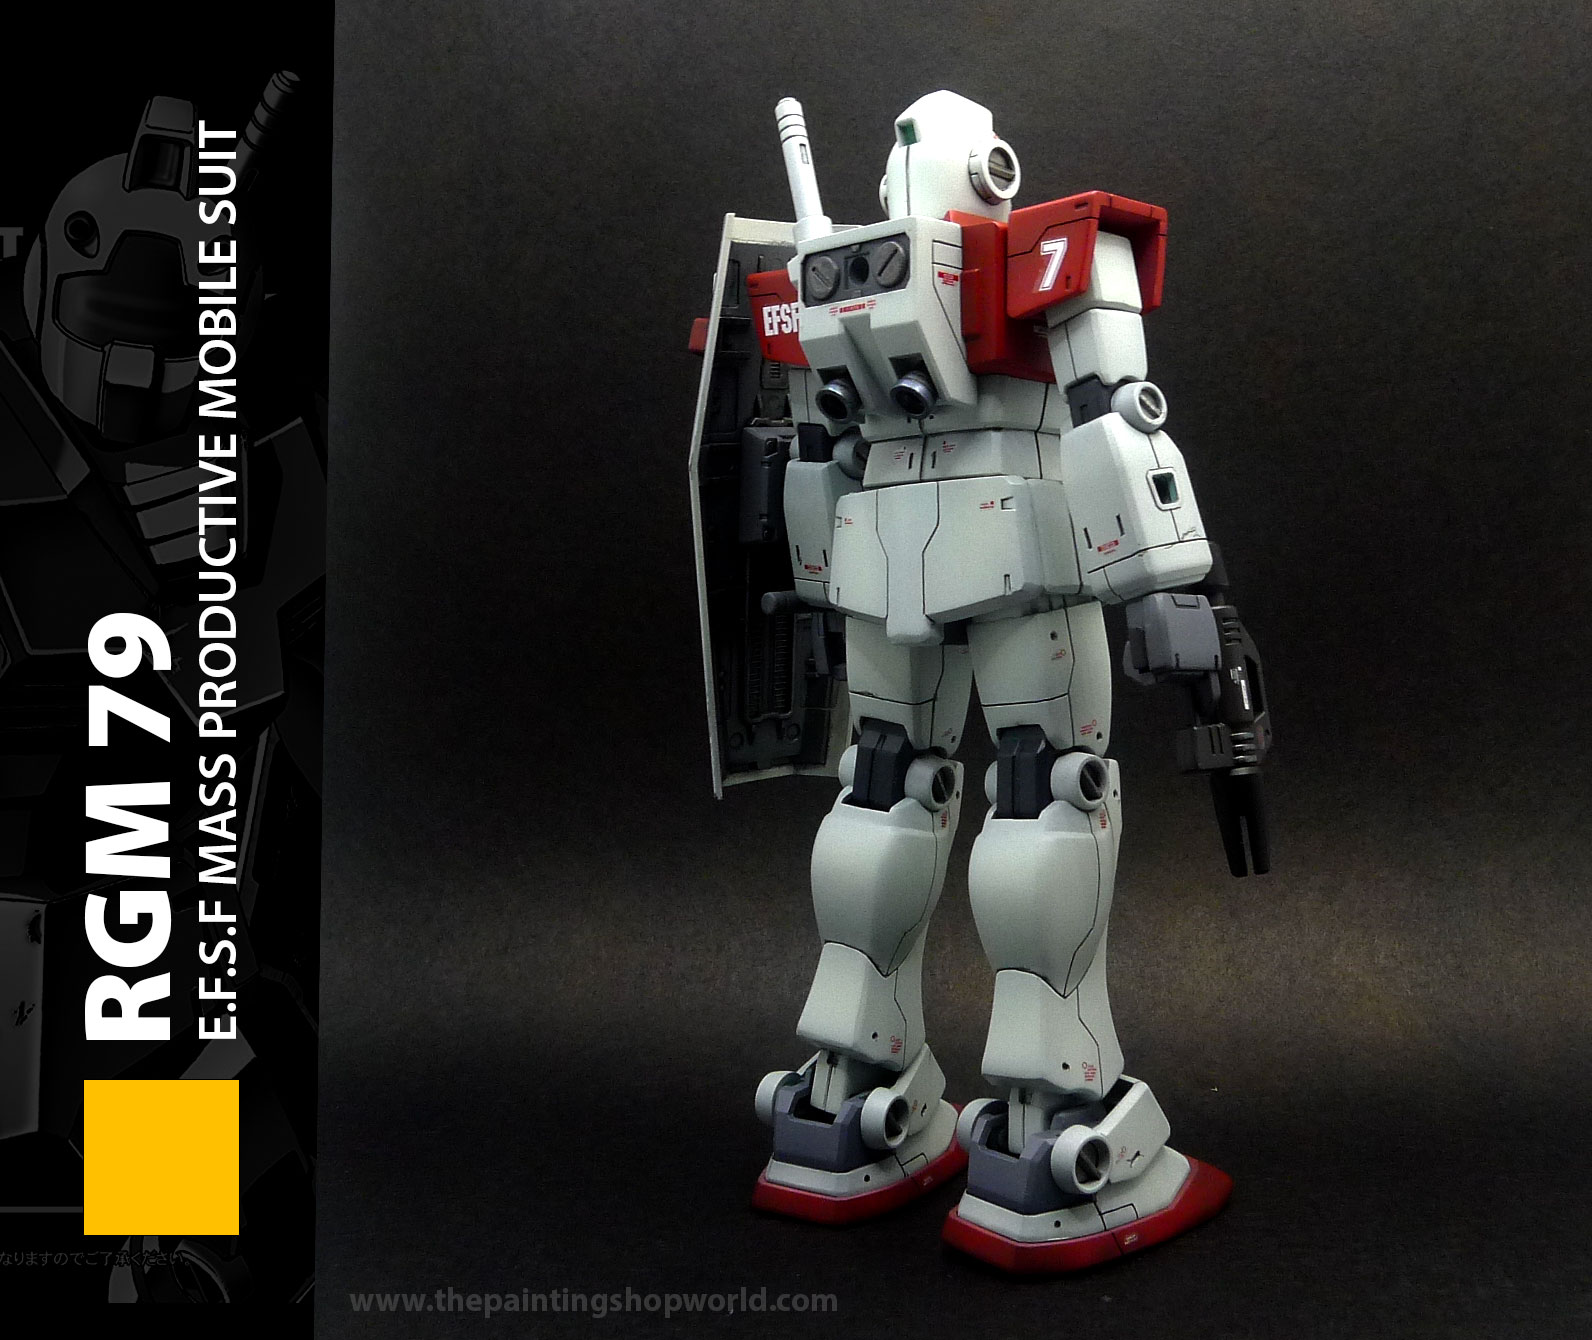
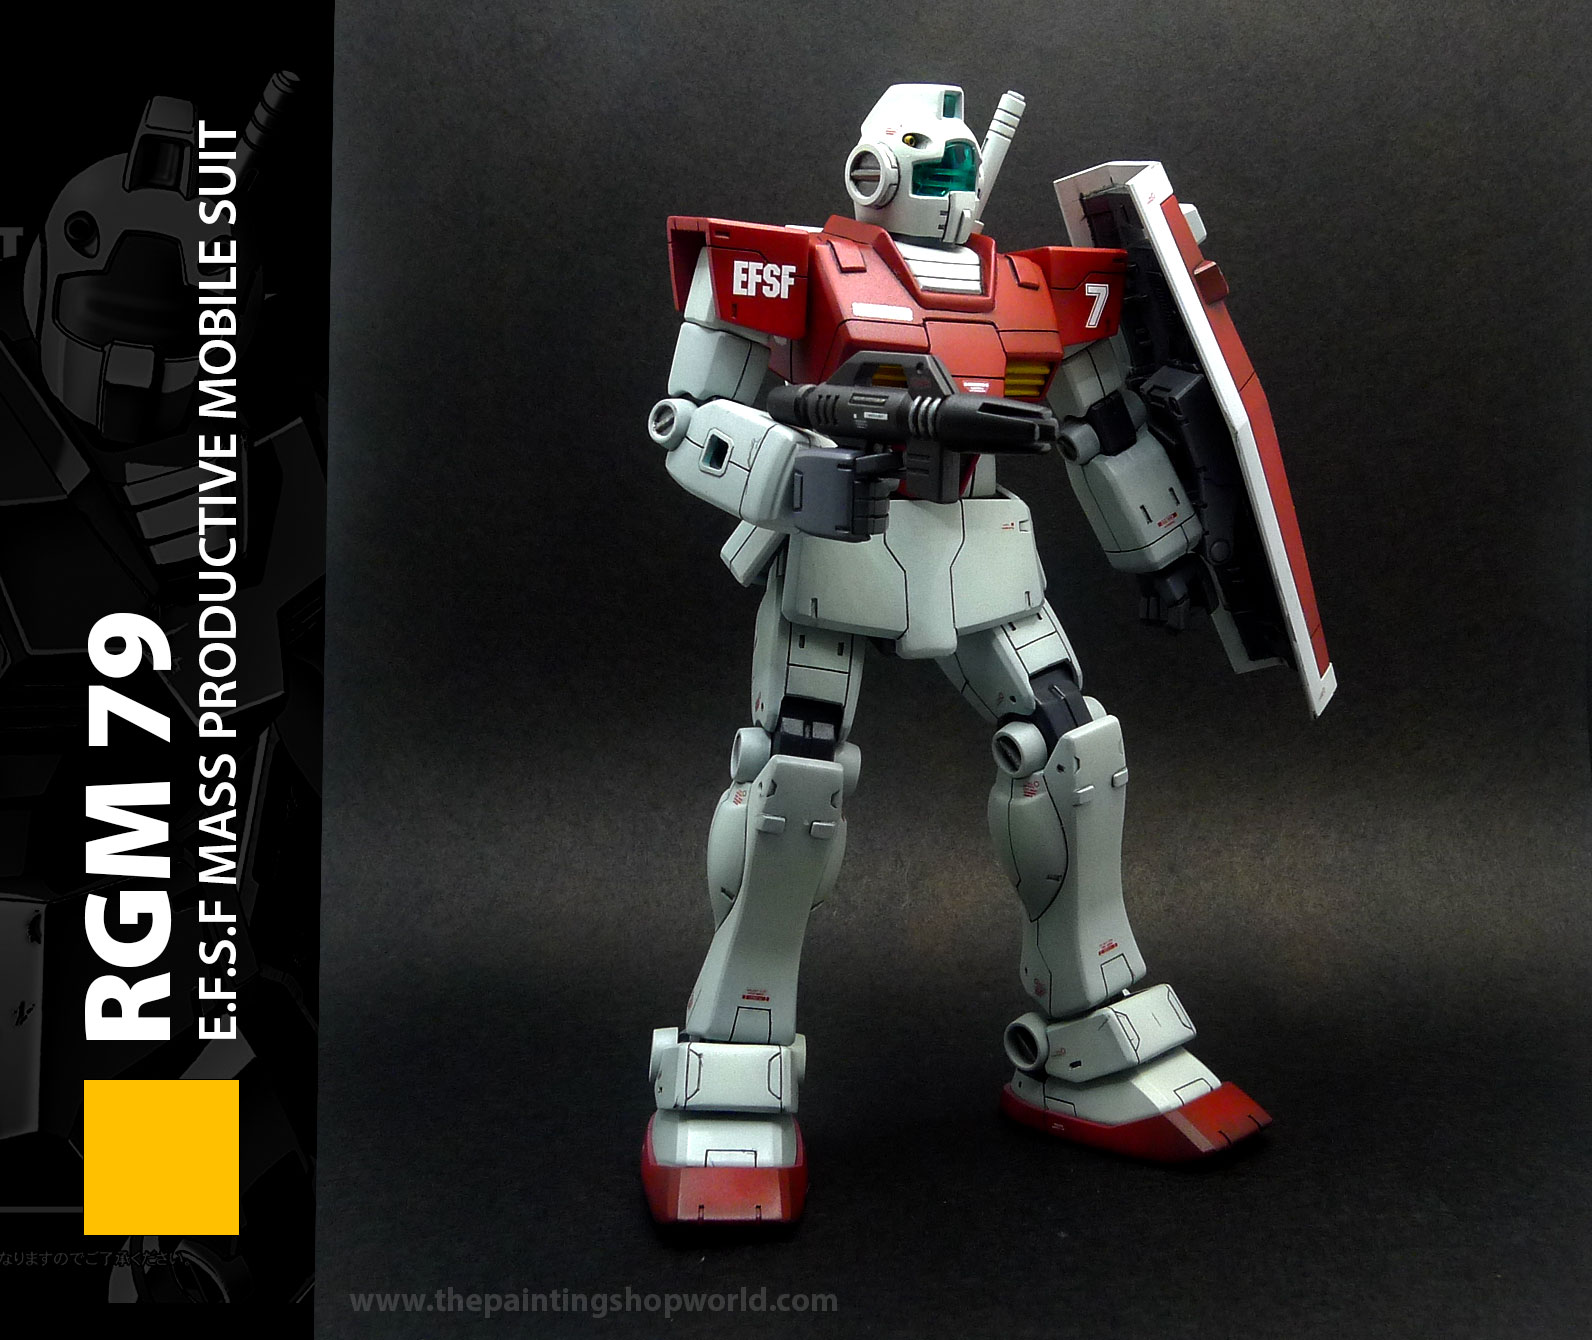
Time for the GM79!
After much research and practice, I finally started the Bandai Hobby HGUC 1/144 #20 RGM-79 GM “Mobile Suit Gundam” Model Kit. First phase—getting the parts off the sprue with nippers, then sanding them down—a standard process for Gunpla, as seen in countless videos and tutorials. Assembling was straightforward, just like any Bandai kit. Some parts needed glue and sanding to remove seam lines, but other than that, it was mostly snap-fit.
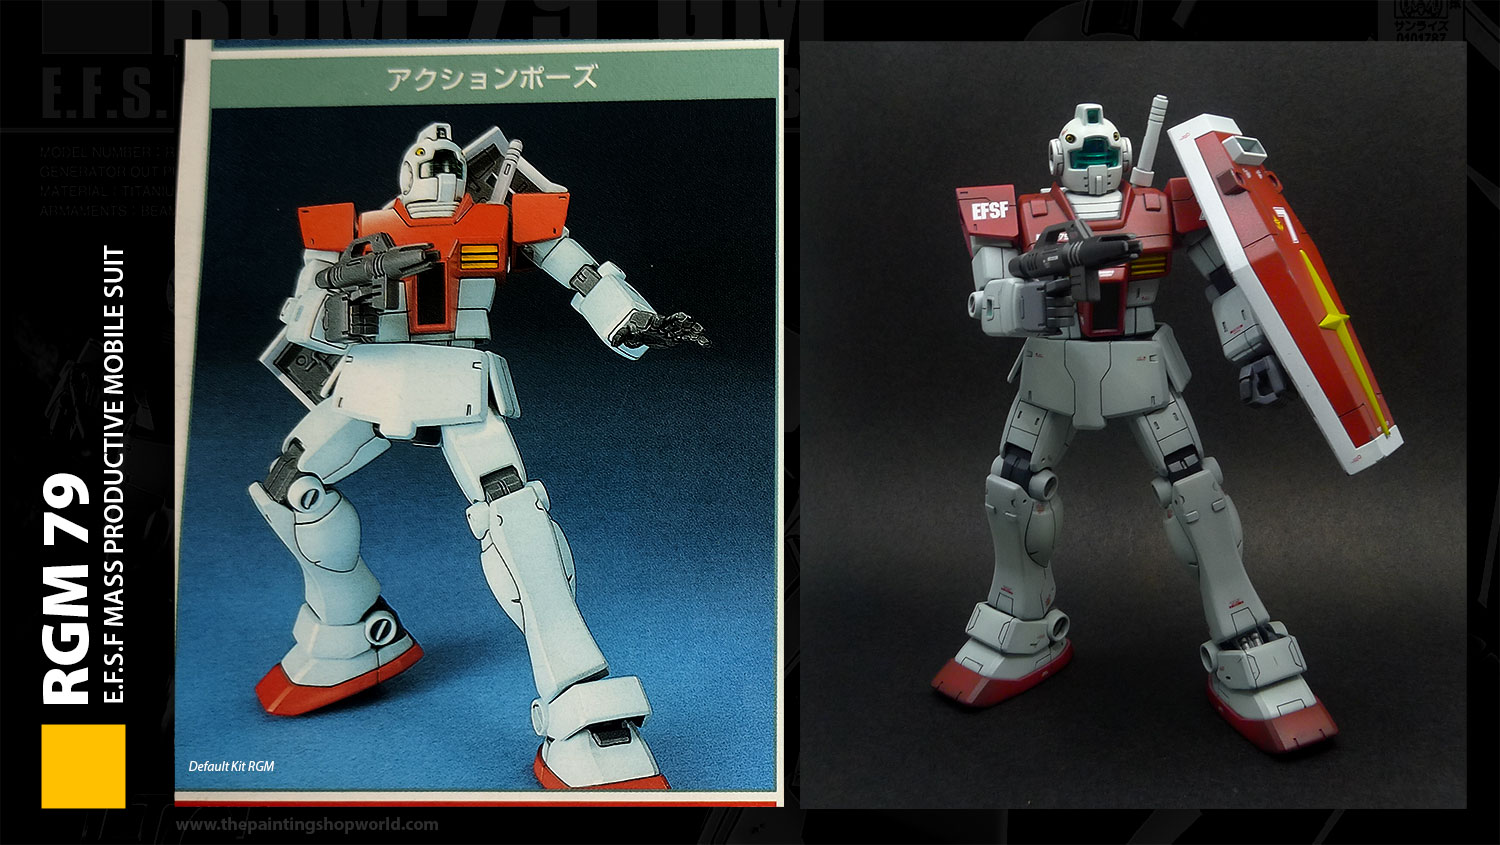
But the real excitement? The scribing process. The default GM79 kit had plain surfaces with very little detail. So, I did some research and planned my own panel line design. Scribing was fun and satisfying, though I made a few mistakes along the way. Guess that’s part of the learning process, right?
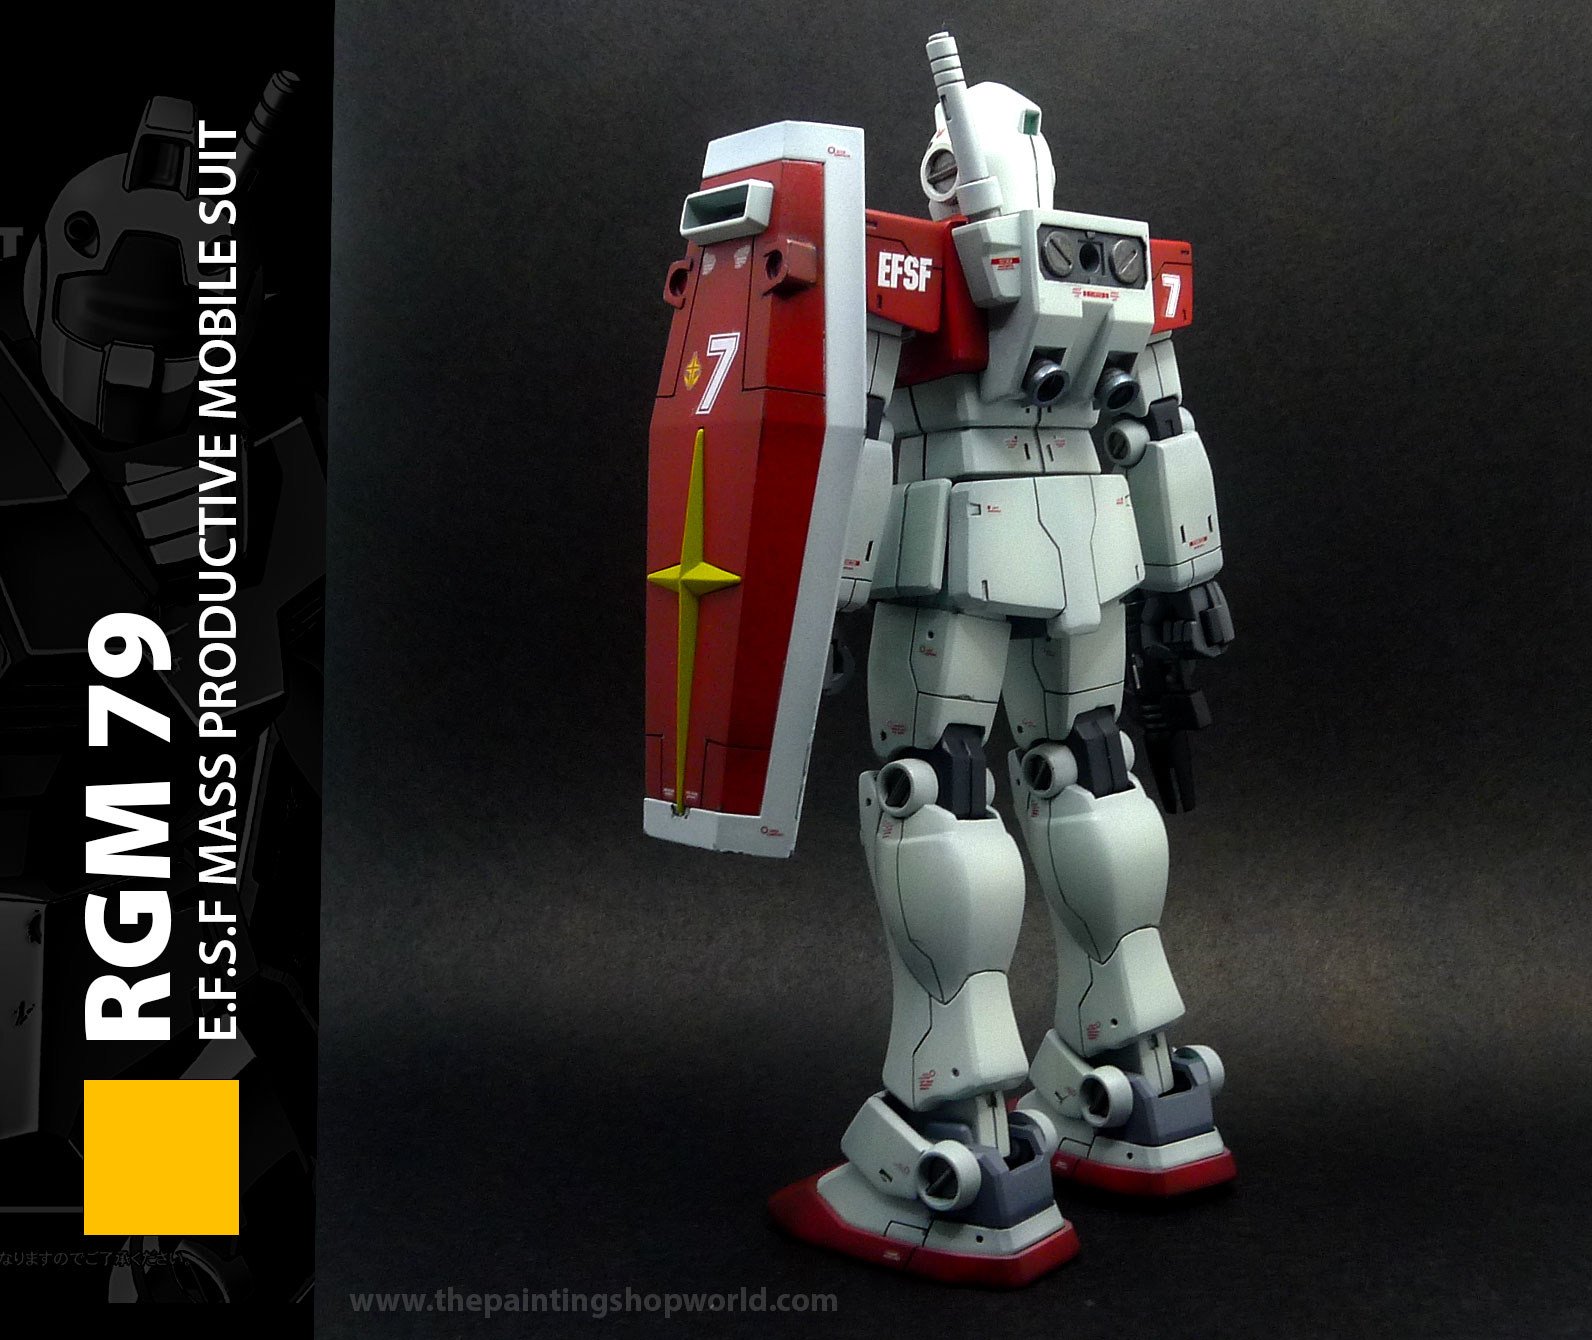
Since the GM79 is an old kit, the detail on the ear areas was pretty poor. I decided to modify them, using some round accessory parts from Kotobukiya and scribing extra details. The end result? Pretty cool! Though, I’ll admit, my scribing still needs more practice to get those lines perfect.
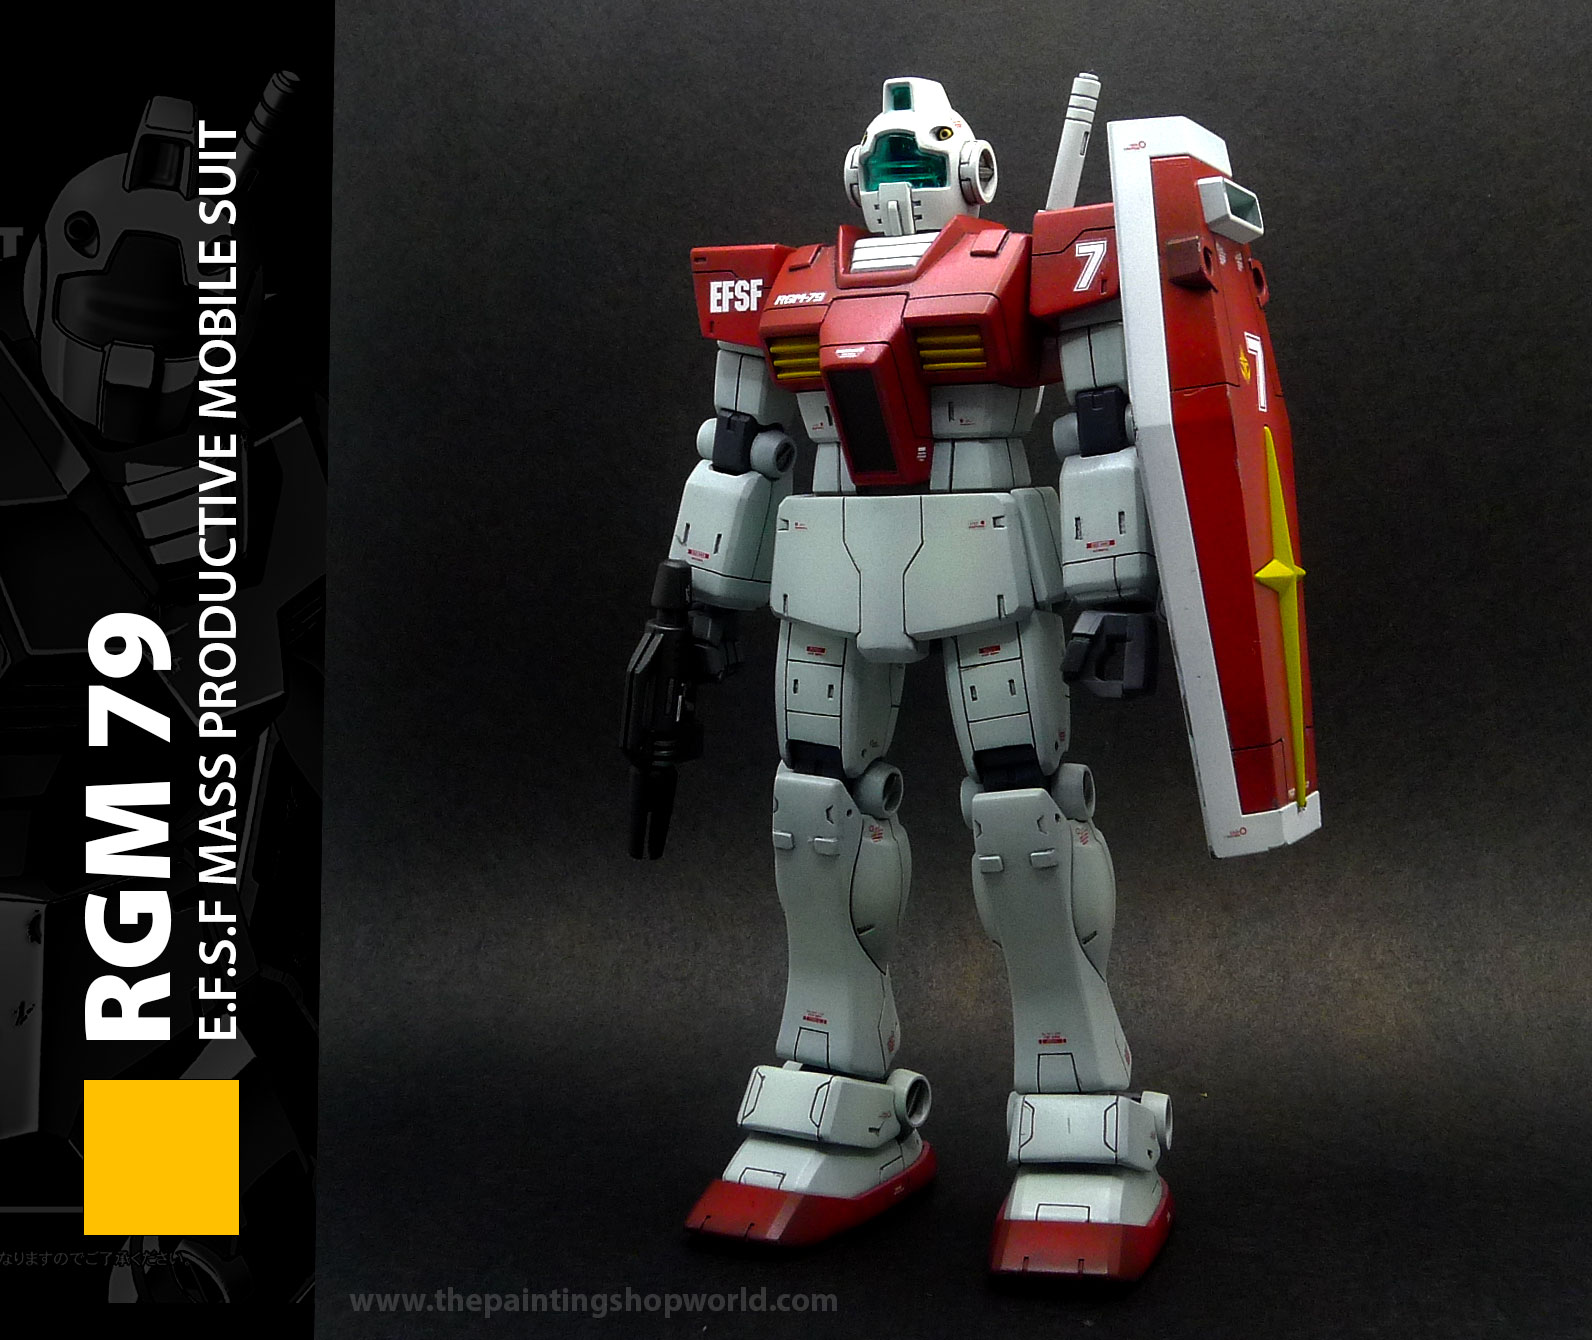
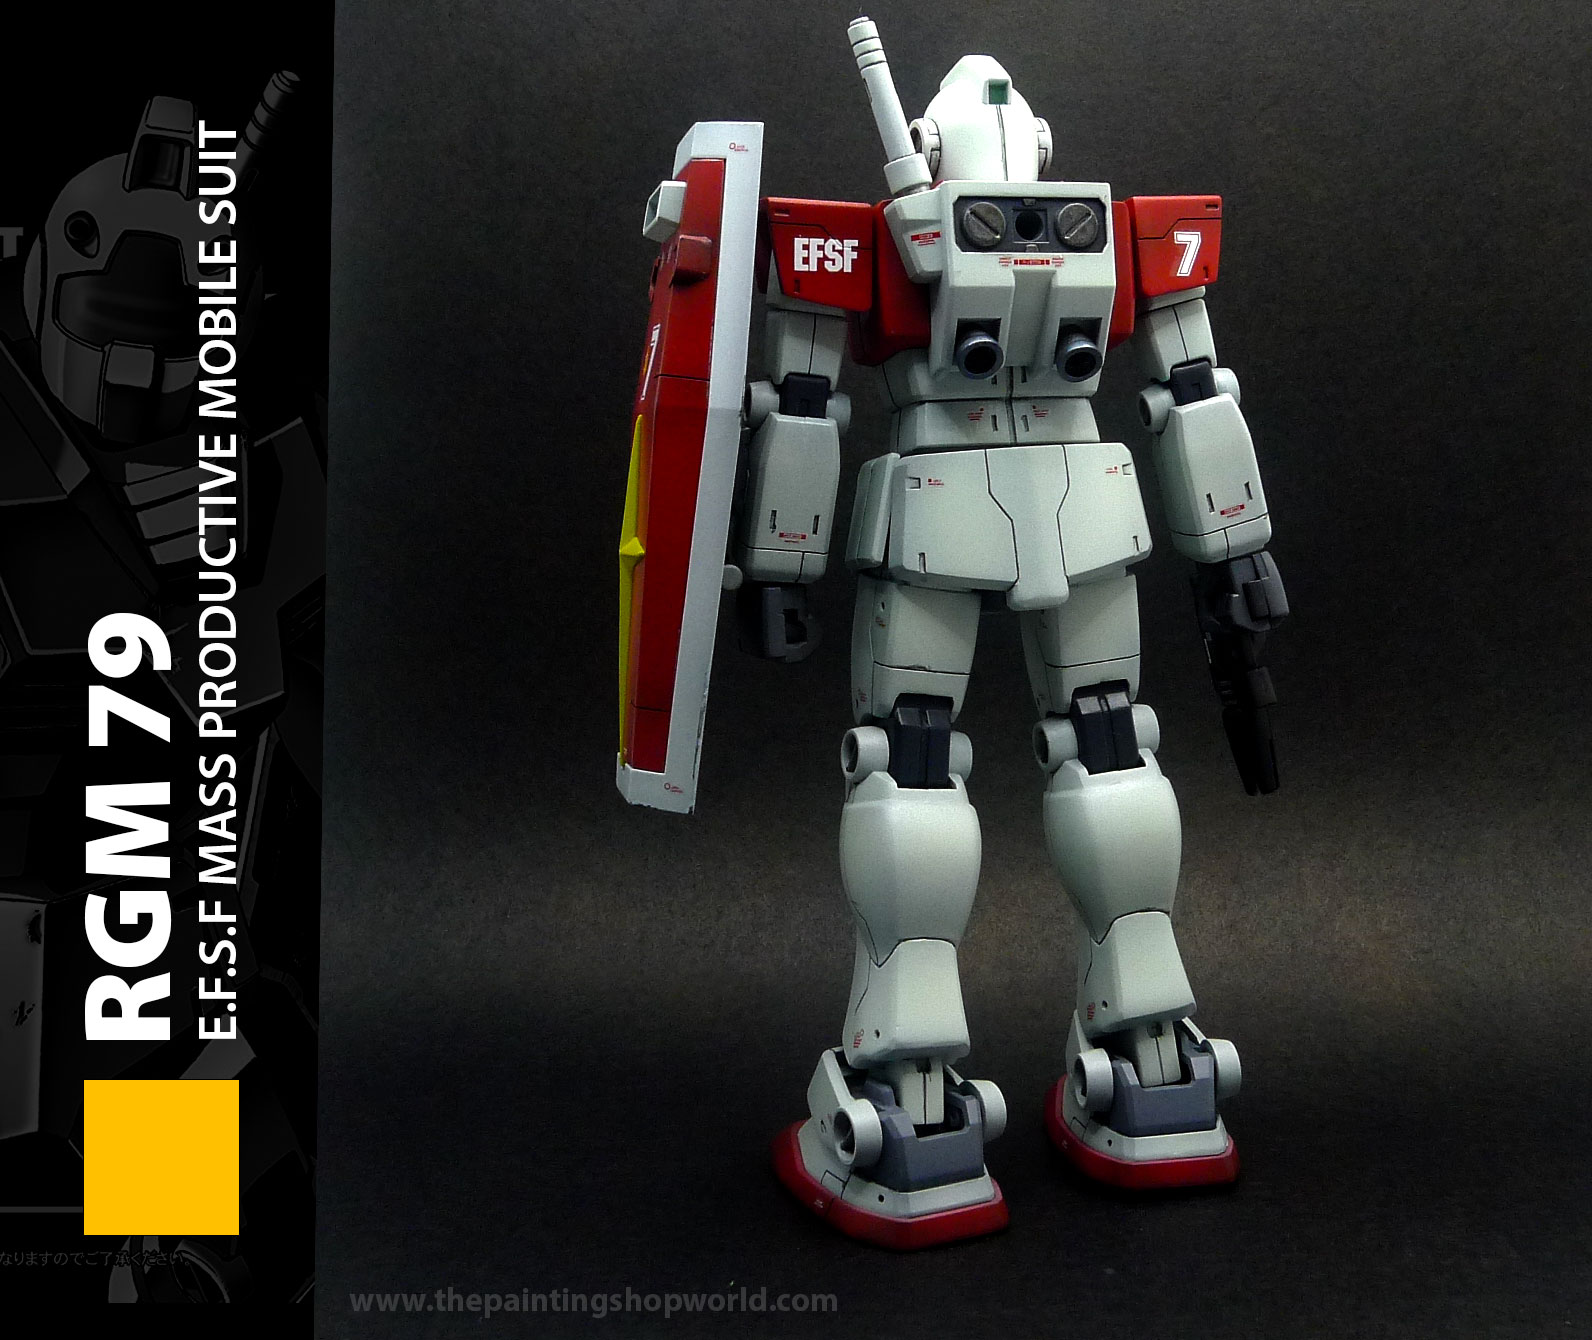
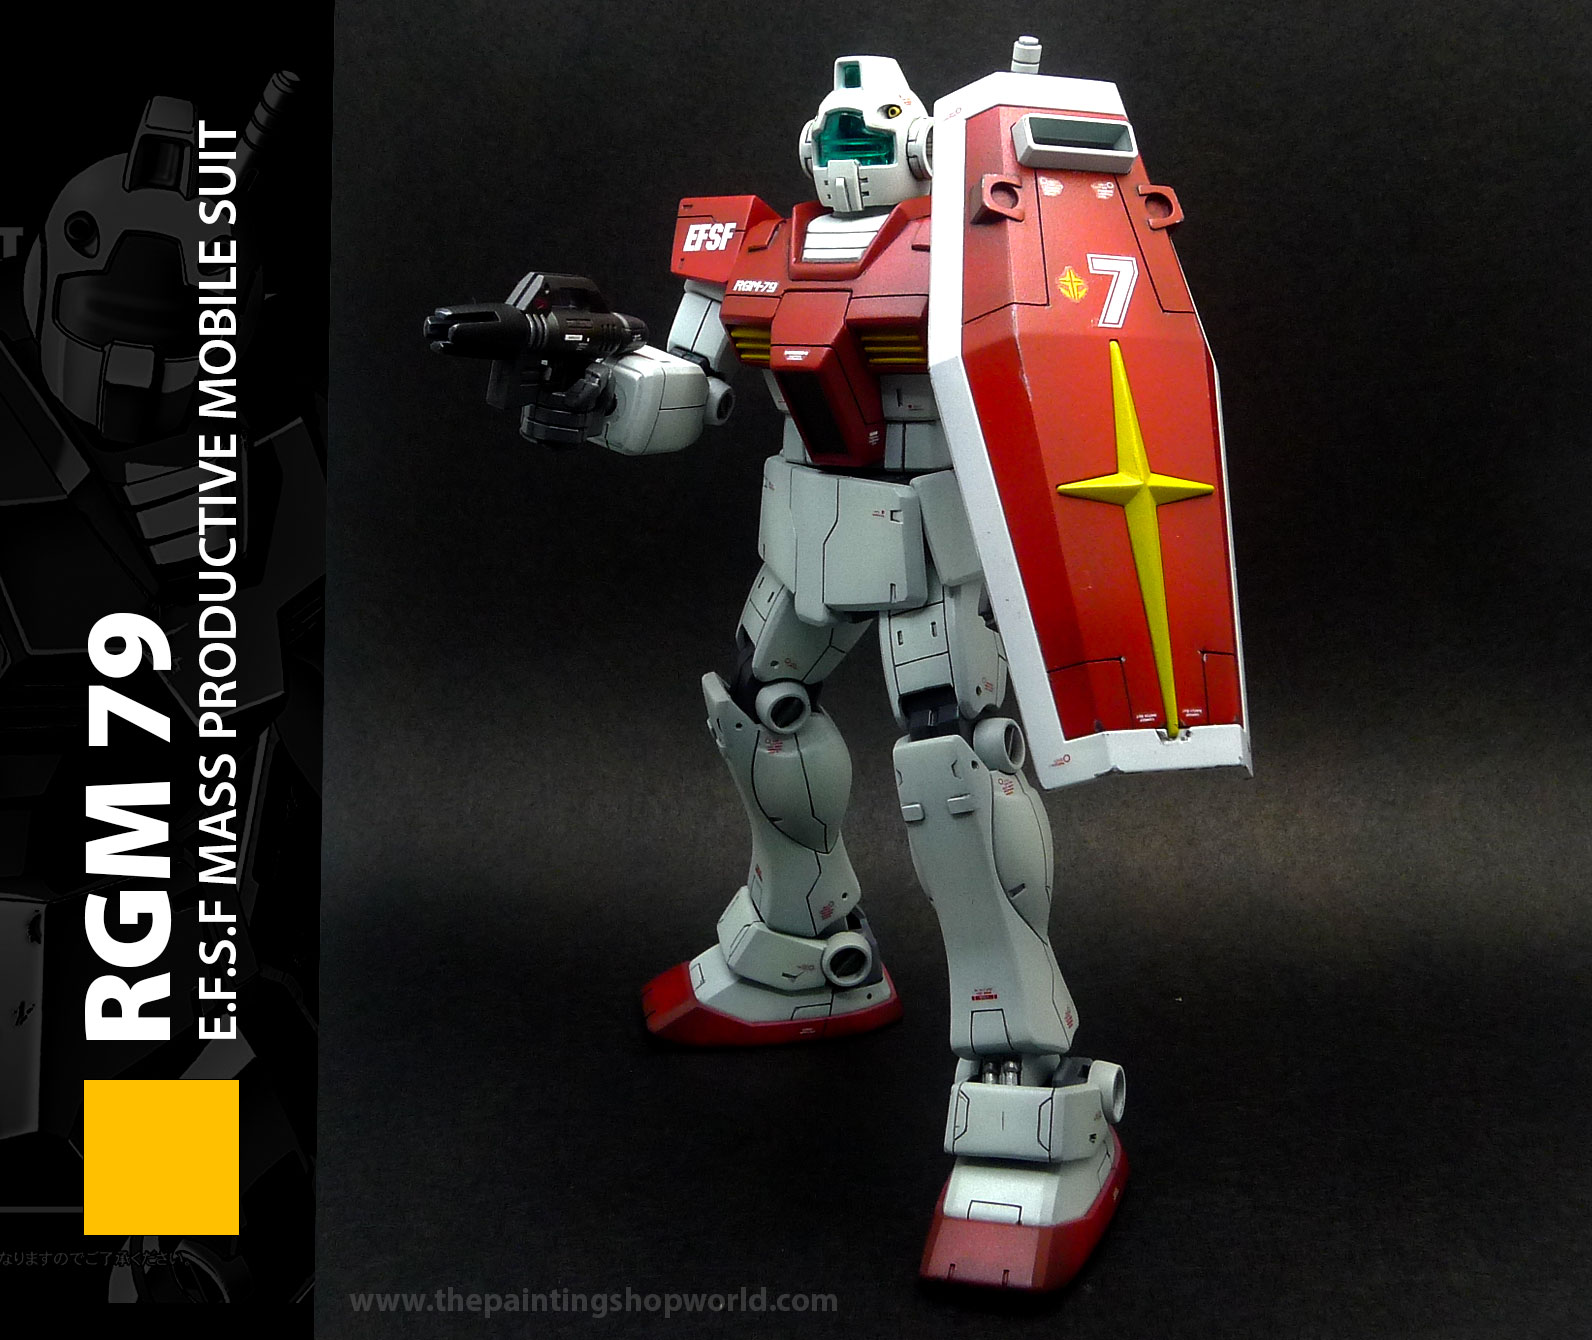
When it came to painting the mecha, I realized that brush painting didn’t look great on flat panel surfaces—those brush strokes just stood out too much. Airbrushing was definitely the way to go. And lacquer paint? That’s the best choice for durability. Since Bandai mecha are poseable, acrylic paint might not hold up as well. I followed the standard process for painting mecha, touching up minor details with acrylic paints. I’ve seen other Gunpla builders mask tiny areas and airbrush every detail, but honestly, that’s too much work for me. I’ll stick to acrylics for small touches.
The final step—the most exciting part—was applying decals. They really take a mecha to the next level! I used water slide decals from other brands to enhance my GM79. Once everything was done, a clear coat sealed it all in, and my GM79 was good to go.
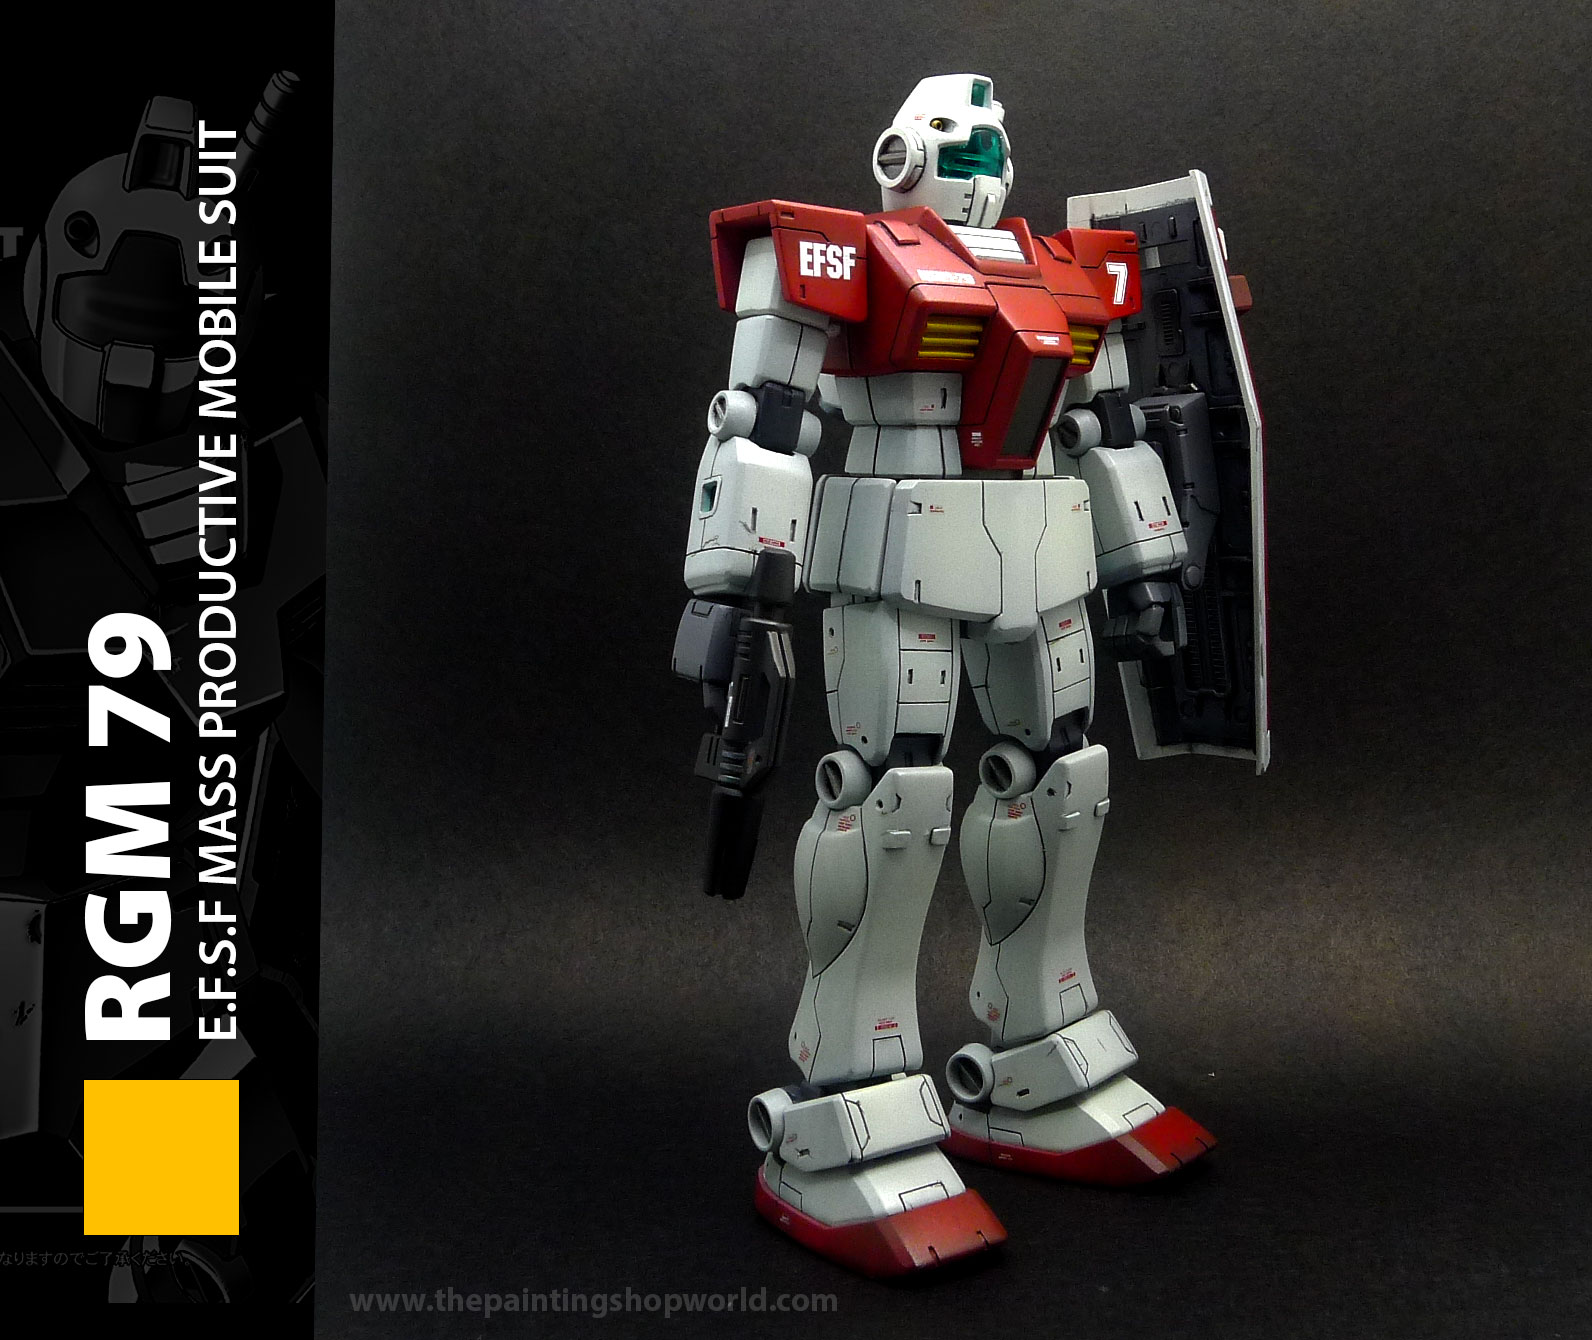
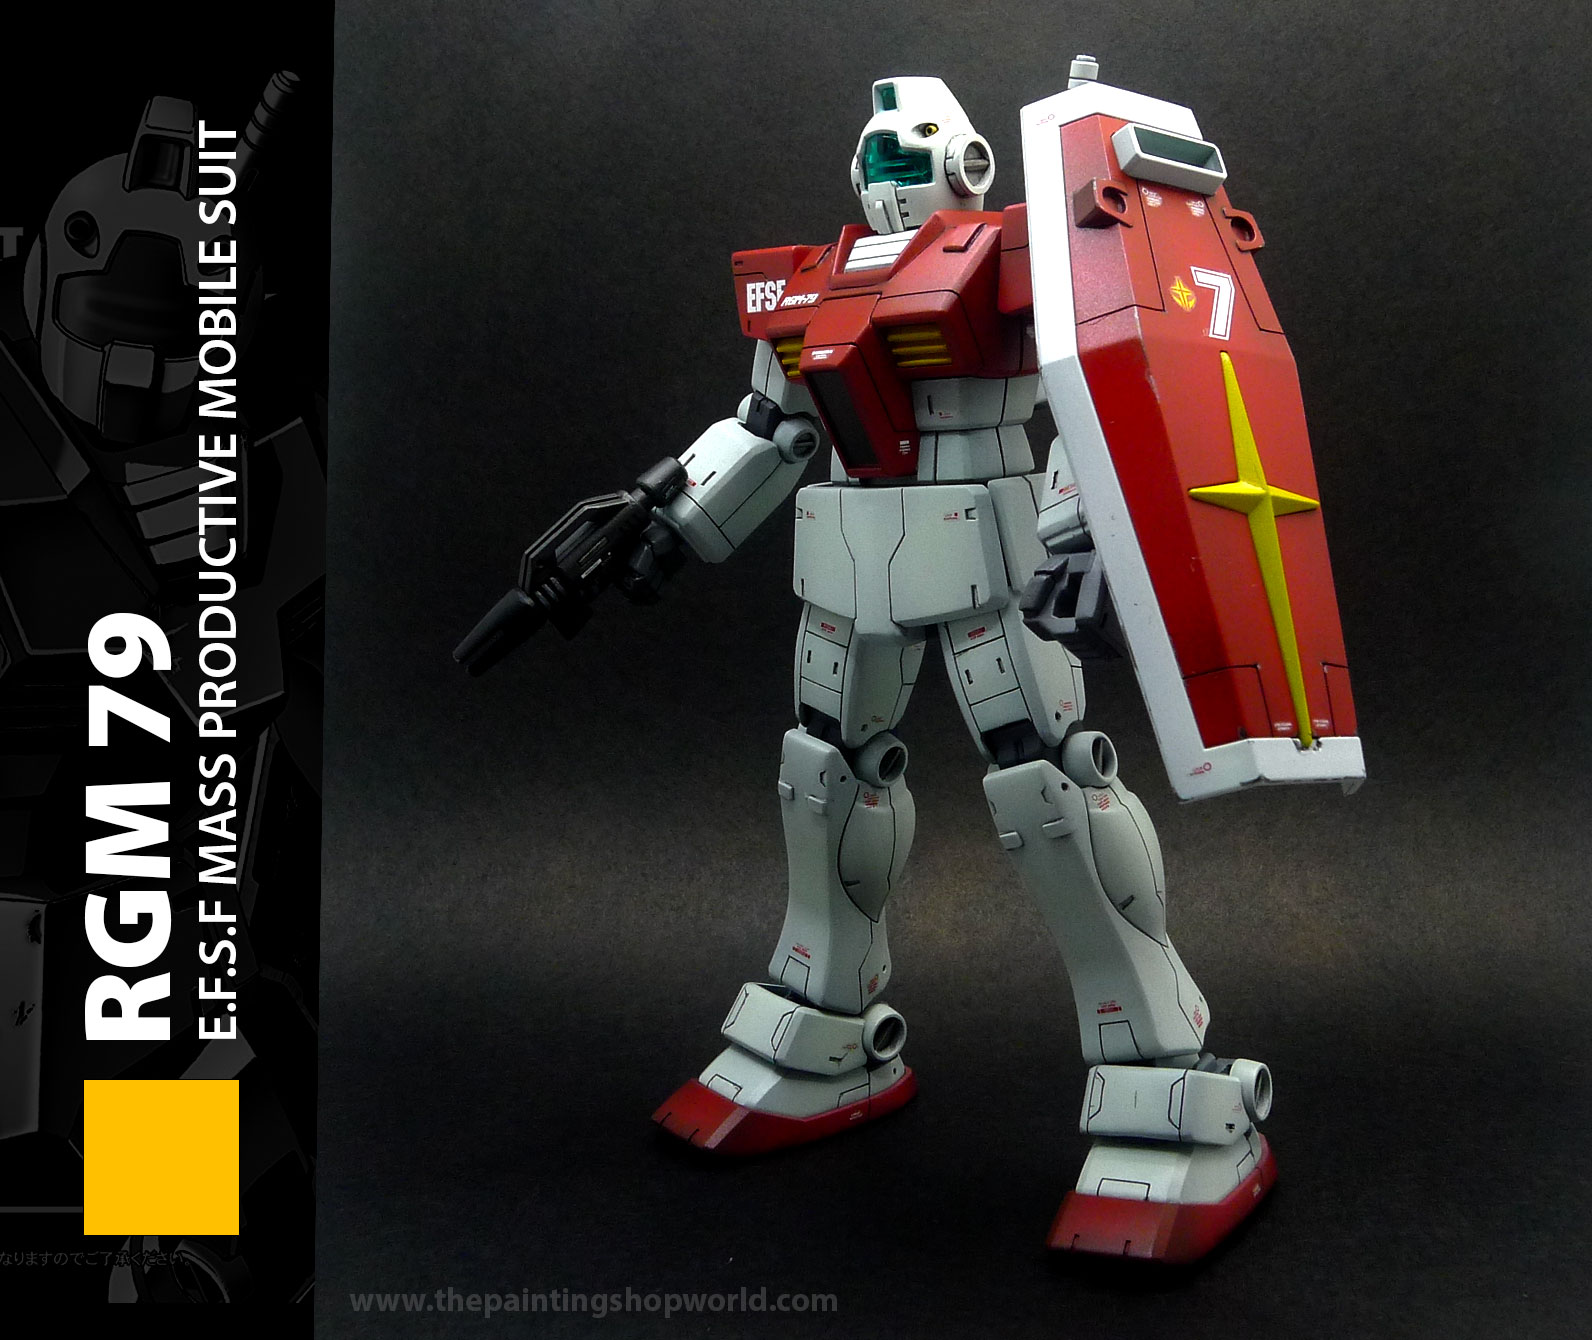
The entire process was incredibly rewarding—just like miniature painting. My first build isn’t perfect; I made plenty of mistakes and learned a lot along the way. But that’s part of the journey! Just like with miniatures, I’ll keep practicing, improving, and growing with every build. Can’t wait for the next one!
Enjoy the pictures! Want to see the GM79 in action? Check out the video!